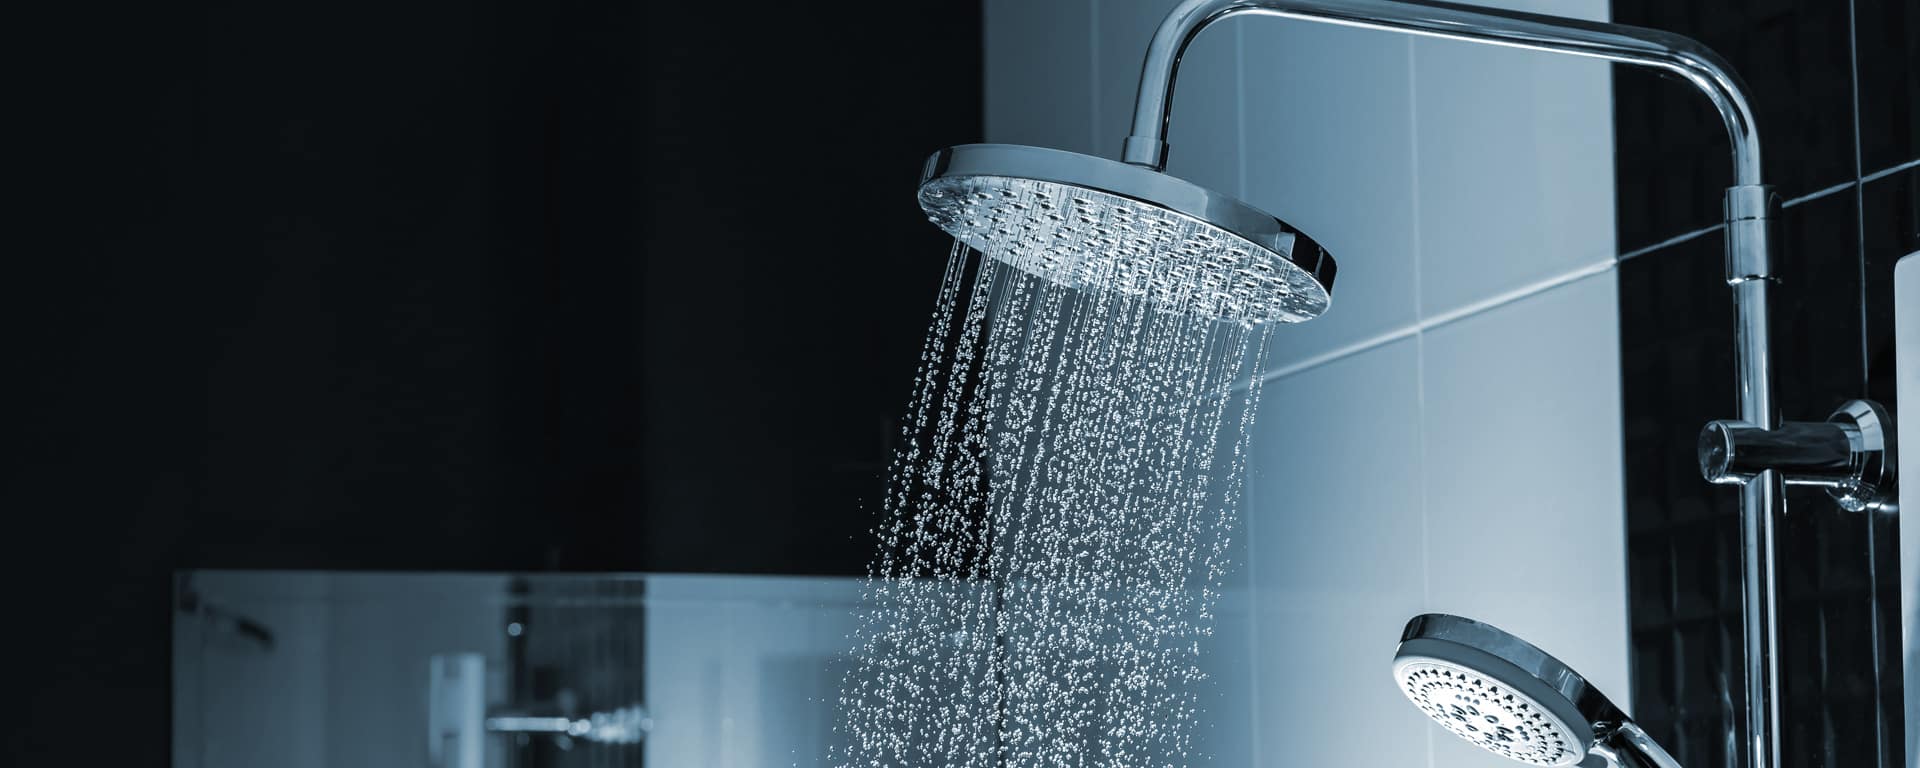
Your shower can be one of the most relaxing places in your home. No one can interrupt you, and you can quietly enjoy the clean feeling that a warm shower provides whenever you need it. However, one issue that can become a prolonged nuisance and cause a headache down the line is something that you might dismiss when you first notice it — a leaking showerhead. The constant drip of your showerhead might not seem like a pressing issue right off the bat; however, if it remains unaddressed, the problem can quickly spiral. But what causes your showerhead to leak, and what can you do to fix it? Identifying the Cause of the Leak When it comes to a leaking showerhead, identifying the main cause of the leak helps determine how you should approach fixing the issue. High Water Pressure First and foremost, the number one cause of showerhead leaks is high water pressure. Each home is equipped with a pressure-reducing valve. This valve is responsible for bringing your water pressure to a safe level before it travels to your shower and plumbing fixtures. However, these valves can wear out over time and usually last five to 10 years. If your pressure-reducing valve has worn out, your faucets, toilets, and fixtures may start to leak or run continuously. You will need to replace this valve to resolve the issue. Worn-Out Inner Seals Most times, the leak is the result of worn-out or damaged inner seals. These seals provide a protective barrier between the showerhead and the hose that supplies the water, preventing the water from leaking out. Over time, the water pressure wears the seals down to the point where the water leaks. Debris Build-Up While worn-out seals might be the most common cause of your leaking showerhead, it’s not the only thing that can ruin a perfectly good shower. Sometimes, the leak results from dirt, grime, and limescale building up within your showerhead and negatively affecting the water flow. As these materials continue to build up within your showerhead, the likelihood of a leak rises exponentially. You need to find a way to identify the source and clear it out before the leak gets any worse. How Do I Fix a Leaky Showerhead? Fixing your showerhead isn’t as complicated as you might have thought, but it still requires multiple steps and a healthy dose of patience. You want to approach your leaking showerhead with care and follow every step of the process to ensure you don’t miss anything. Step #1 — Shut Off The Water Supply Before you do anything with your showerhead, you want to ensure you turn off the water supply to your shower. No one wants to get an unexpected blast of water when they least expect it because the shower accidentally got turned on during the inspection. Find the water valve for the entire house and turn it off. Step #2 — Remove And Inspect The Showerhead In Question Next, remove the showerhead. Unscrew it from the pipe and take a closer look at the interior of the unit. Inspect the seals to see if they are worn down enough to affect the water flow. You can check for grime and limescale build-up, which can also affect the flow. Step #3 — Clean The Showerhead Whether it’s an issue with the seals or a significant debris build-up that has caused your leaky showerhead, giving it a thorough cleaning can help prevent potential problems down the line. Replace the seals if need be. If your home has dealt with hard water issues in the past, the sediment buildup in your showerhead could be more significant than you originally thought. A good trick is to soak the showerhead in white vinegar for about 15 minutes, then rinse it with cold water. Step #4 — Reattach The Showerhead After thoroughly cleaning the head and replacing any worn o-rings, the next step is to get everything reattached properly before turning the main water back on. Start wrapping the pipe stem’s threads with tape to ensure the seals won’t move. Wrap a thin strip around the threads at the tip of the pipe before screwing the head back into place. Hand-tighten the screws until you physically can’t turn it anymore. Then, grab the pliers and give it a good twist to make sure everything is secure. Try not to apply too much pressure when using the pliers; you don’t want to accidentally break your freshly cleaned showerhead or pipe. Step #5 — Turn The Water Back On And Reassess Now that you have the showerhead back in place, it’s time to turn the water back on. After you turn the main water supply back on, the next step is to turn the shower on and see how the head performs. If the leak is gone, you no longer have anything to worry about. However, if the leak continues like you haven’t spent a significant amount of time cleaning your showerhead, then it’s time to call the professionals at Keep Smiling Plumbing to take a look. Let Keep Smiling Plumbing Help You Fix a Leaky Showerhead! Leaky showerheads don’t have to be a persistent problem that you put up with because you think it’s not that big of a deal. By addressing the leaky showerhead, you can help boost your home’s water efficiency and lower your water utility bill at the same time. However, if you have found that plumbing repair isn’t in your repertoire, Keep Smiling Plumbing can help! Finding a professional plumber in Loganville, GA, can help you determine the exact cause of the leak and find a solution to the problem. Keep Smiling Plumbing has helped countless homeowners with our repair, installation, and emergency plumbing services in Loganville and beyond to address their leaky showerheads before the problem could worsen. Other plumbing companies in Loganville, GA, might give you a roundabout solution or timeline to fix a leaking shower. We keep our customers in the loop every step of the way. We focus on providing customers with excellent service and repairs that last. Contact us to schedule your next plumbing service in Loganville, GA, today!


