A clogged kitchen sink drain can quickly turn from a minor inconvenience to a major headache. Standing water in the sink, foul odors, and slow drainage are all signs of a drain blockage that require immediate attention. But fear not! With the right tools and a bit of know-how, you can easily tackle this common household issue. In this guide, brought to you by Keep Smiling Plumbing & Electric, we’ll walk you through the steps to fix a kitchen sink drain clog and have your kitchen back to its sparkling self in no time.
Step 1:
Safety First Before you start any DIY plumbing project, remember to prioritize safety. Turn off the water supply to the sink to avoid any accidental water spillage or leaks while you work. Additionally, clear the area around the sink to have enough space to maneuver comfortably.
Step 2:
Gather Your Tools Keeping all the necessary tools ready will save you time and frustration. For this task, you’ll need: Plunger: A basic plunger with a cup-shaped rubber head is a must-have for every homeowner. It works wonders on simple clogs. Plumbing Snake (Auger): A plumbing snake is a flexible tool used to reach deep clogs that a plunger can’t handle. Baking Soda and Vinegar: These household items can be a natural alternative to harsh chemical drain cleaners. Bucket and Old Towels: To catch any excess water and keep your workspace clean. Wrench: In case you need to remove any pipes.
Step 3:
Plunge Away For minor clogs or ones located close to the sink drain, a plunger can be a lifesaver. Ensure the sink is filled with enough water to cover the rubber cup of the plunger. Then, place the plunger over the drain and pump it up and down with quick, forceful movements. The pressure should dislodge the blockage and allow the water to flow freely again.
Step 4:
Try the Plumbing Snake If the plunger doesn’t do the trick, it’s time to bring out the plumbing snake. Insert the snake’s end into the drain and start turning the handle clockwise. Keep pushing the snake until you feel resistance. This resistance usually indicates that the snake has reached the clog. Continue turning the snake to break up or hook onto the obstruction, then pull it out gently.
Step 5:
Baking Soda and Vinegar Magic For environmentally-friendly homeowners, baking soda and vinegar can be an effective alternative to harsh chemicals. Start by pouring half a cup of baking soda down the drain, followed by one cup of vinegar. Let the mixture fizz for about 30 minutes to break down the clog. Finally, flush the drain with hot water to clear any remaining debris.
Step 6:
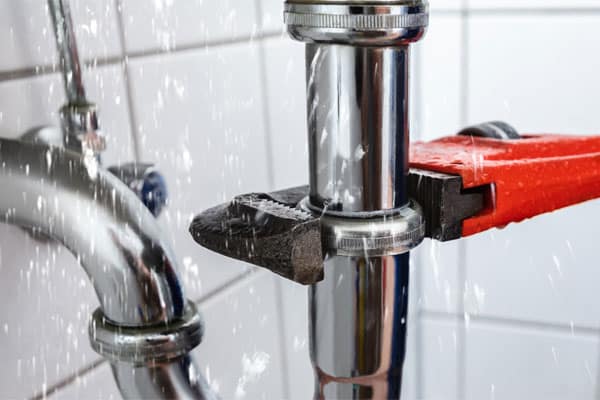
Check the P-Trap If the clog persists, the problem may lie deeper in the plumbing. Underneath the sink, there’s a U-shaped pipe called the P-trap. Place a bucket under the P-trap to catch any water, then use a wrench to carefully remove the trap. Clean it thoroughly and remove any debris. Reattach the P-trap, ensuring it’s tightly secured.
Step 7:
When to Call the Professionals If you’ve followed all the steps above and the kitchen sink drain remains clogged, it may be time to call in the experts. Keep Smiling Plumbing & Electric has a team of skilled technicians ready to help with any plumbing issues you may encounter. Our professionals have the experience and tools to diagnose and resolve even the most stubborn drain clogs efficiently.
Conclusion:
Clearing a Kitchen Sink Drain Clog Dealing with a kitchen sink drain clog doesn’t have to be stressful. Armed with the right tools and a bit of DIY knowledge, you can often tackle the problem on your own. Remember to stay safe, be patient, and if all else fails, don’t hesitate to call in the experts at Keep Smiling Plumbing & Electric. A clear and functioning kitchen sink is a key ingredient for a happy home, so don’t let a pesky clog get in your way!


